127.Shinpu Castle Part2

You can see the completed version of Takeda’s method for building castles.

Features

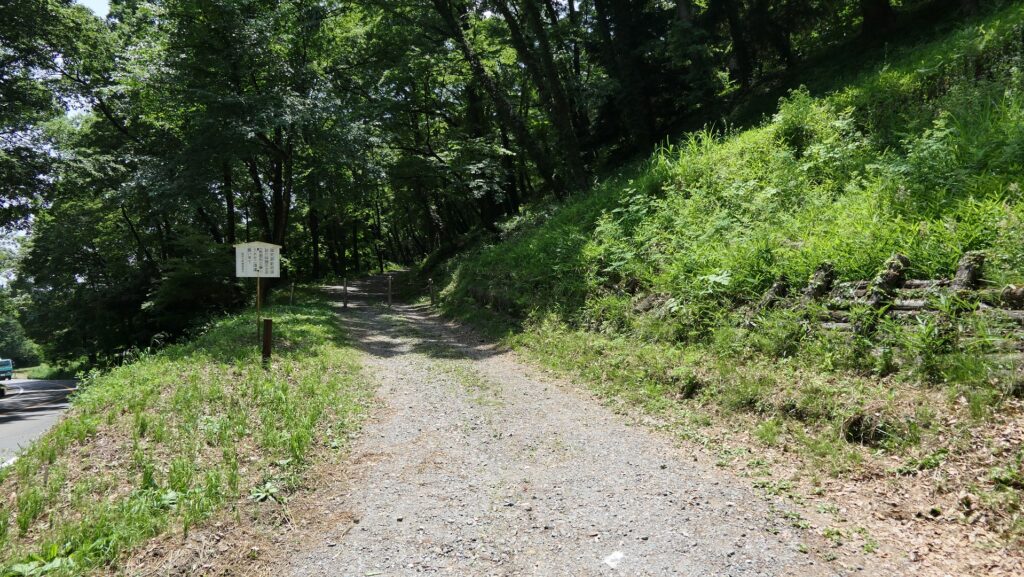
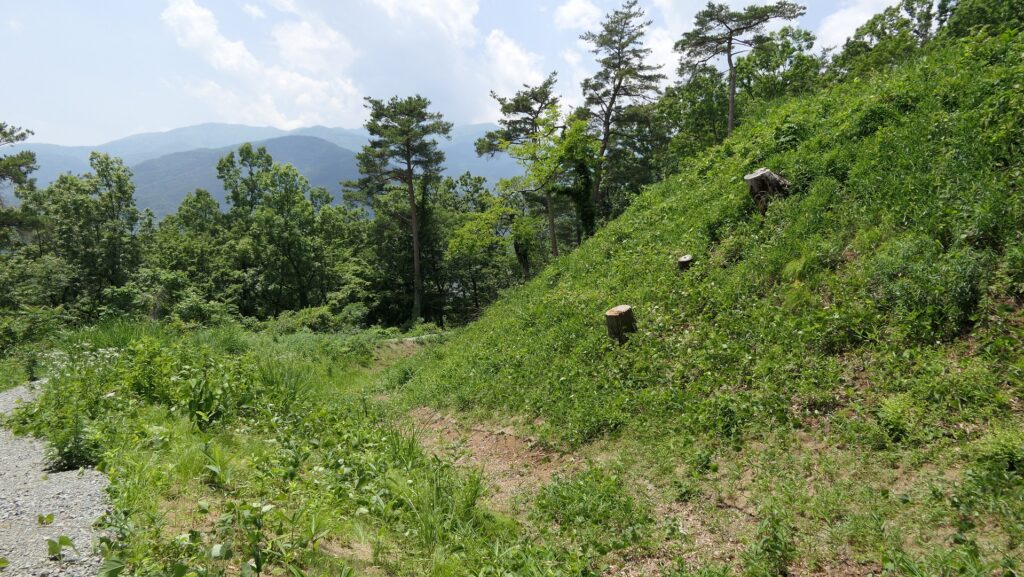
The ruins of Shinpu Castle is open to the public. Visitors usually enter the ruins from the eastern side using two trails which were either built in the present time. One of them is the very steep approach with stone steps to the shrine on the top of the mountain. The other is the gentle steep footwalk going around the mid slope of the mountain to the south. I recommend using the latter if you want to look around the ruins.

The approach to the shrine
The footwalk for visitors

Powerful ruins of Main Gate and Umadashi system

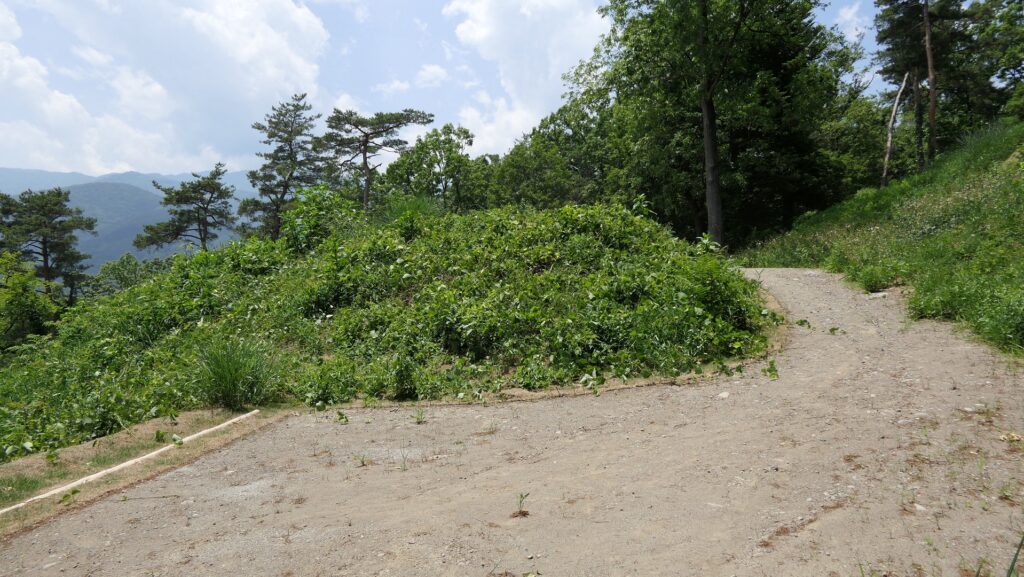
The footwalk goes under the Third Enclosure above the Main Gate. You can walk down from the inside to the outside of the ruins of the gate. The gate ruins are still surrounded by the earthen walls.

The map around the castle

The ruins of the Main Gate

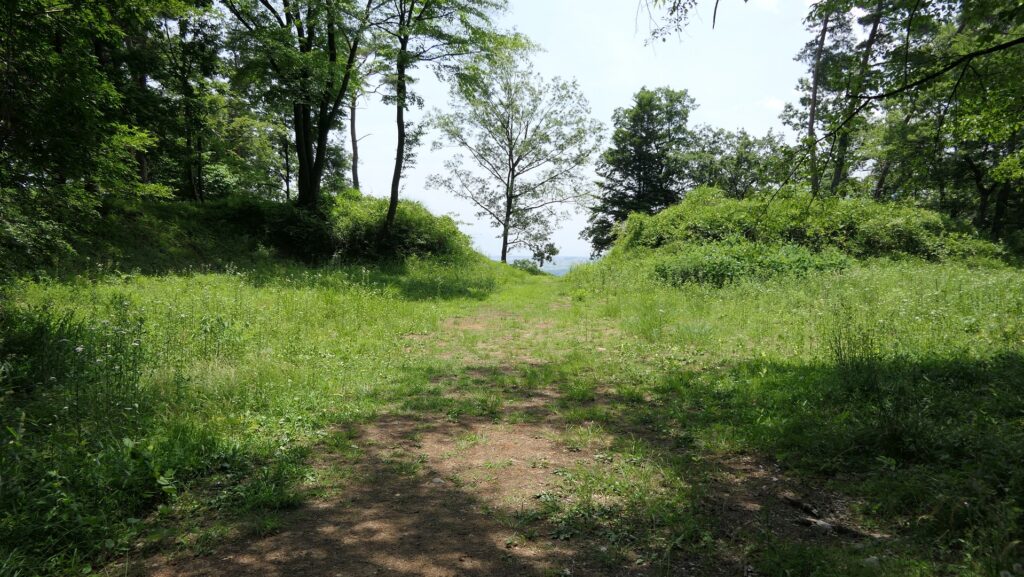
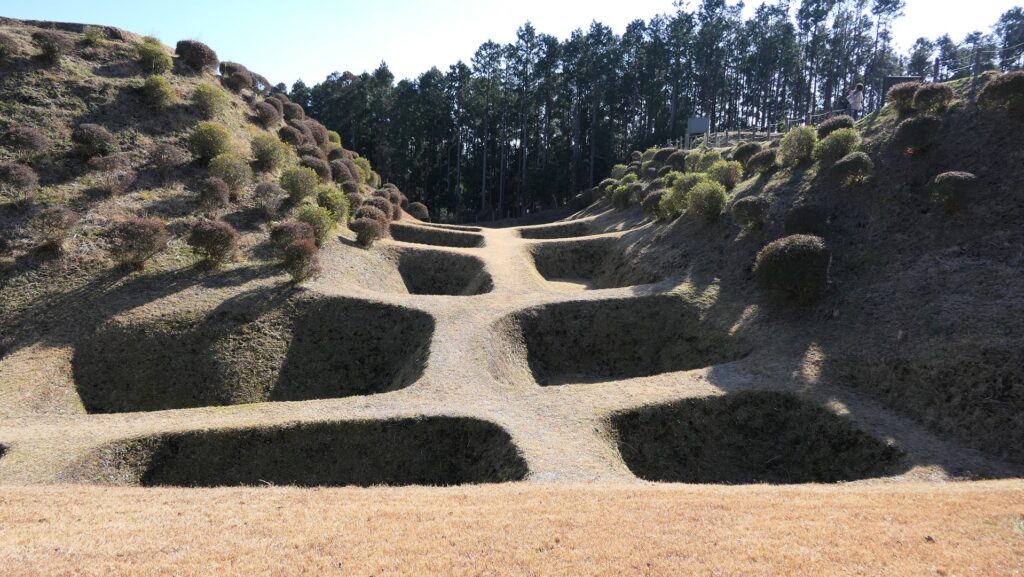
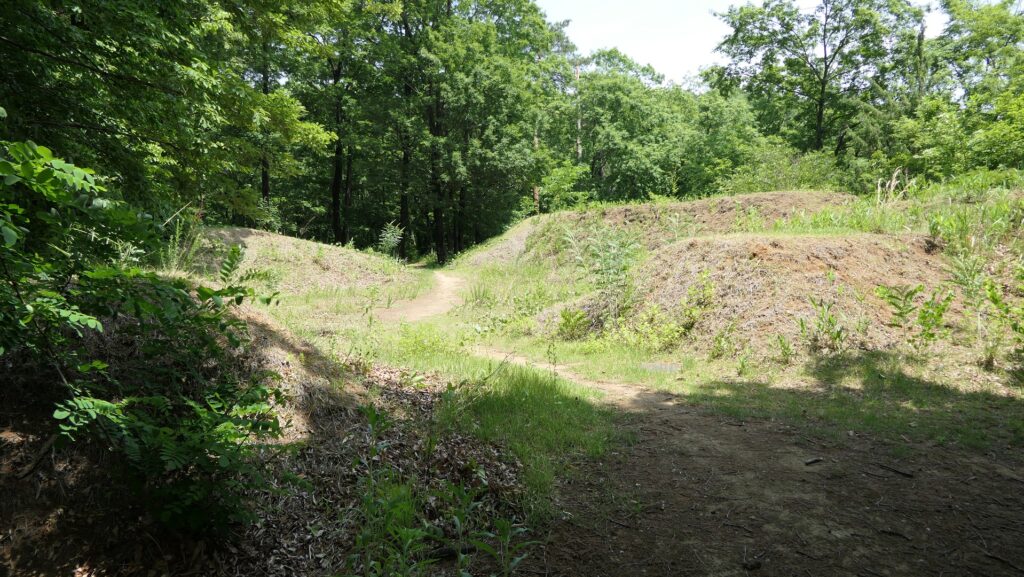
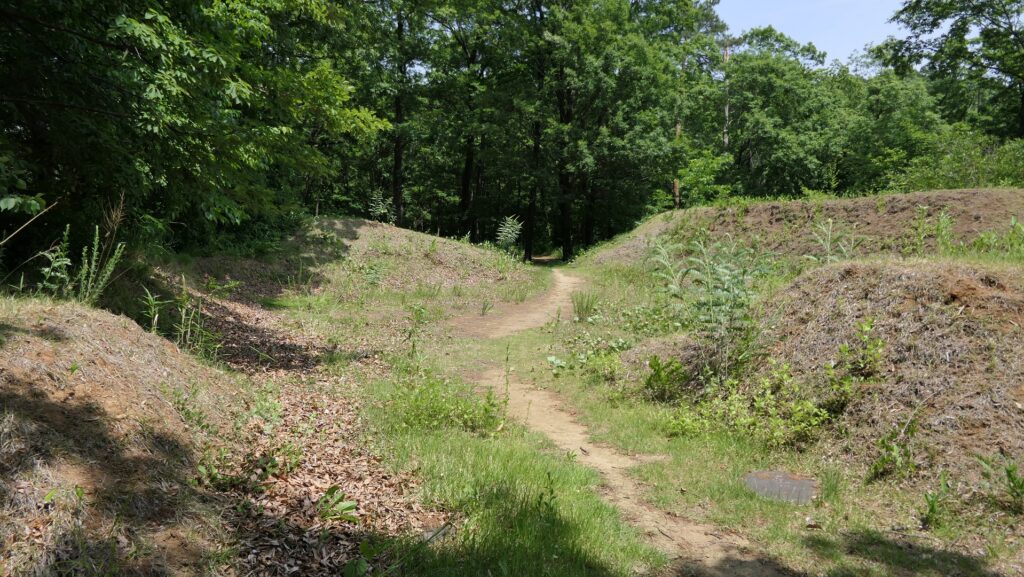
The ruins of the Umadashi system remain outside the gate. Umadashi was Takeda’s unique defense system which is a round shaped stronghold sticking out of a gate. It usually had a convex moon shaped moat in front of it to make it more protective. The defenders could also counter the attackers from the sides. The ruins of Umadashi in Shinpu Castle are very large and you can clearly see the shapes of the stronghold and the moat.

The imaginary drawing of the Umadashi part (from the signboard at the site)
The round shaped stronghold of Umadashi
The convex moon shaped moat of Umadashi
The side part of the stronghold

Main Enclosure which worships Takeda

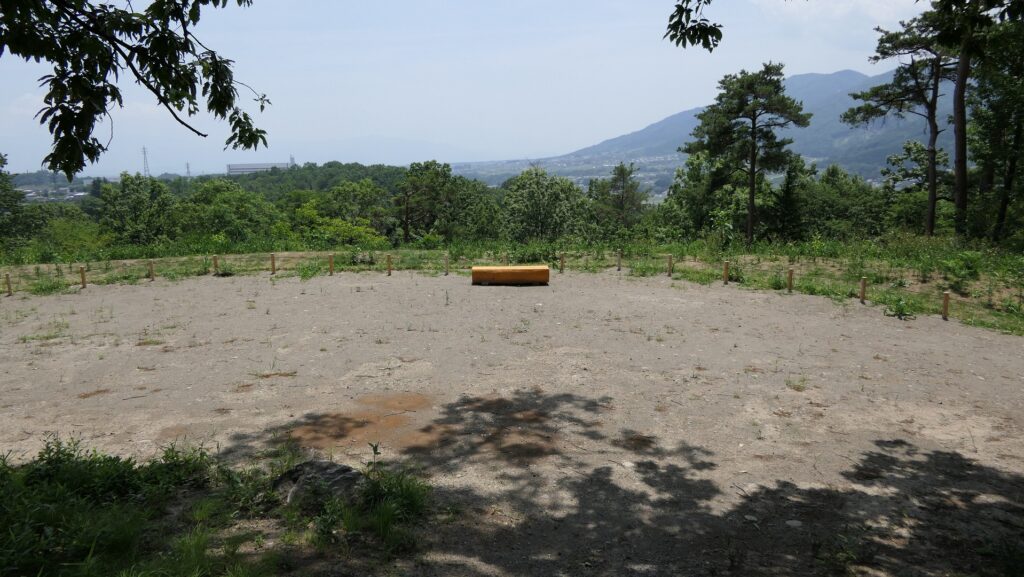
Going back to the footwalk, you can walk up to the Main Enclosure through the Second Enclosure. The Main Enclosure is largest one and on the top of the mountain, which had Katsuyori Takeda’s Main Hall. The excavation team recently found the foundation of the hall gate and the traces of the leveling probably done by Tokugawa.

The Main Enclosure of Shinpu Castle

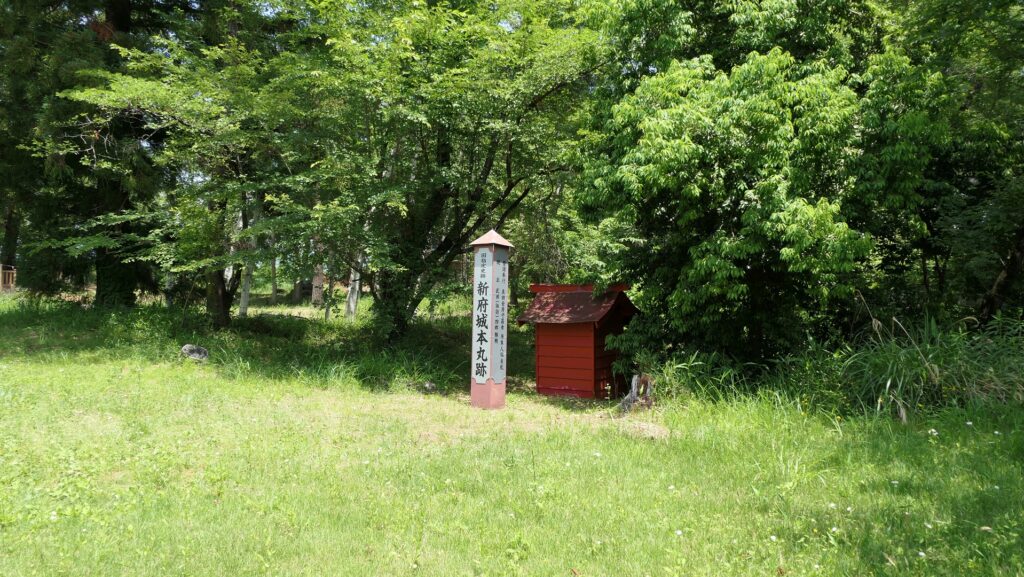
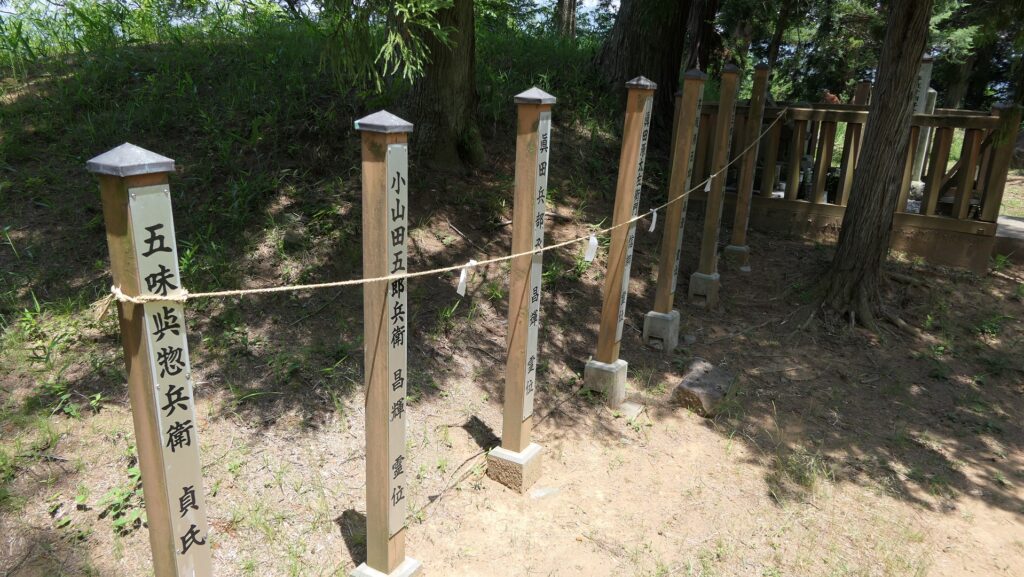
The only things that remained was the Shinpu-Fujitake Shrine which worships Katsuyori and the shrine which worships the war deaths in the battle of Nagashino on the spacious area.

The Shinpu-Fujitake Shrine
The steep approach that can be seen from the shrine
The shrine which worships the war deaths in the battle of Nagashino

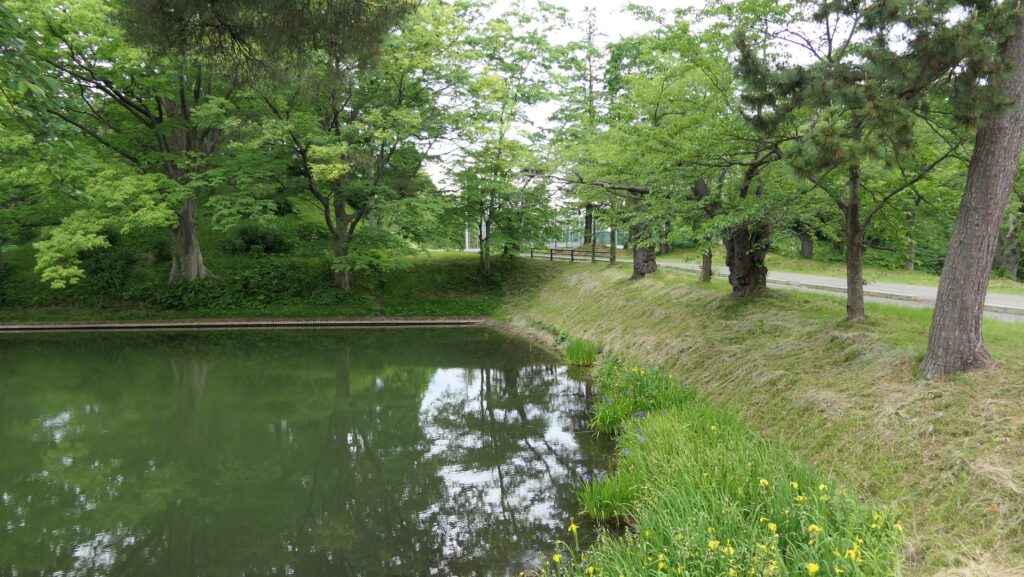
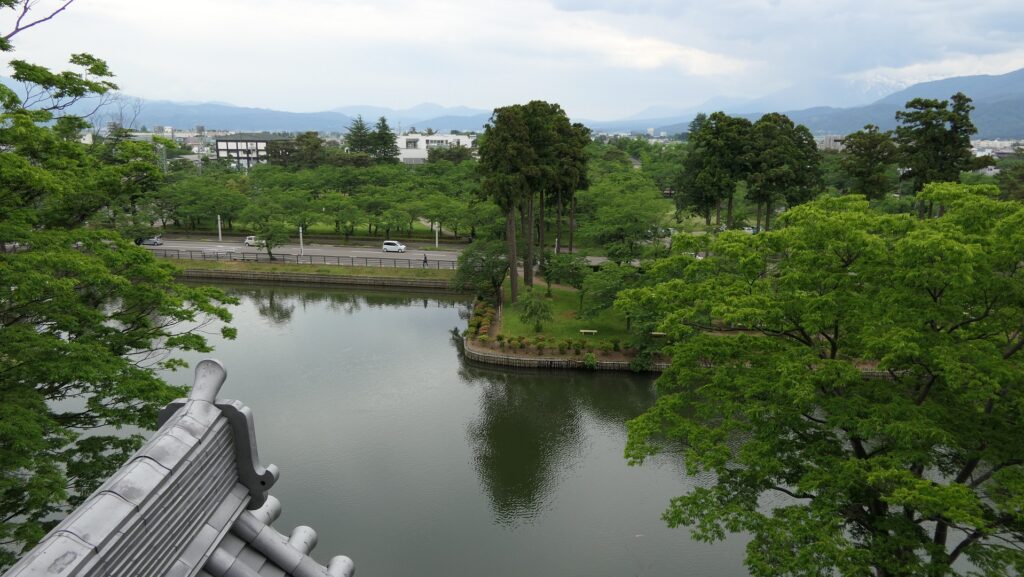
You can see a good view from there including the Kamanashi-gawa River below and the mountains above.

A view from the Main Enclosure

Also pay attention to Back Gate

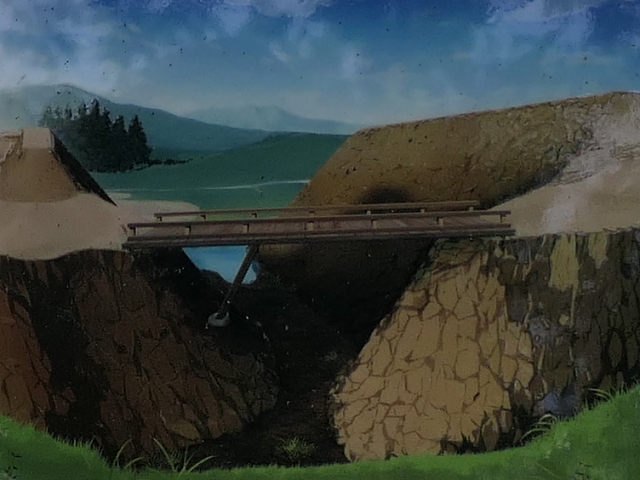
You can also walk down to the northern part of the castle from the Main Enclosure. Passing the ruins of the well and the wooden bridge, you will reach the ruins of the back gate called Inui-Mon.

The map of the northern part of the castle

the ruins of the well
The ruins of the wooden bridge
The imaginary drawing of the wooden bridge (from the signboard at the site)

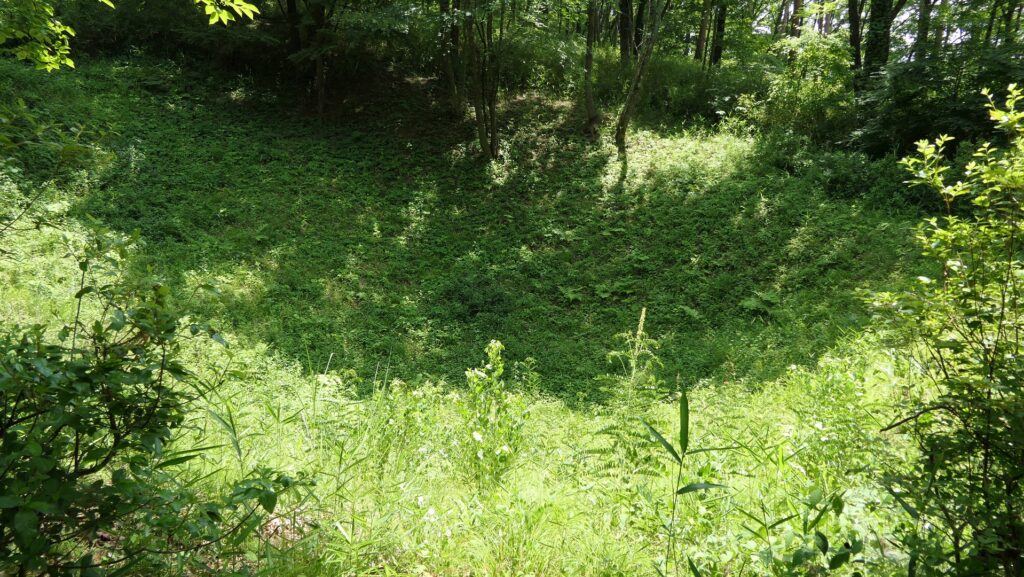
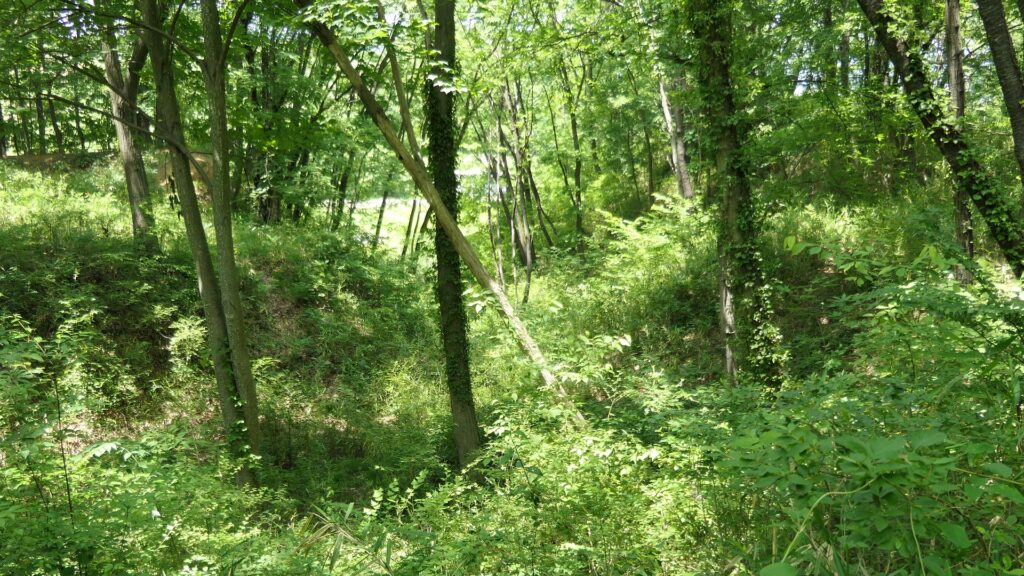
The gate was built in the Masugata style which had a square space sandwiched by two gate buildings, which could prevent enemies from attacking easily. The earthen walls surrounding the space still remain intact and the foundations of the gate were also found.

The ruins of the Back Gate
The Masugata space which is surrounded by the earthen walls

To be continued in “Shinpu Castle Part3”
Back to “Shinpu Castle Part1”

132.Takada Castle Part2

The good contrast of the remaining moats and earthen walls, and the rebuilt turret

Features

Wide and Long Water Moats remain

Now, the ruins of Takada Castle have been developed as the Takada Castle Site Park. The park is also very famous for the illuminated cherry blossoms and the lotus in the Outer Moat credited as “the largest in the East”. As for the castle ruins, the earthen walls of the Main Enclosure, the Inner Moat, and the western part of the Outer Moat mostly remained intact. If you visit the ruins from the west such as Takada Station, you will first see the remaining Outer Moat with a huge amount of lotus plants.

The aerial photo around the castle

The Outer Moat of Takada Castle

Center of Park – Third and Second Enclosures

The Outer Moat is still very large, which was at maximum 130m wide in the past. Even now it remains at about 100m wide. You can now go across the moat on the road to the Third Enclosure and the Second Enclosure inside. The Third Enclosure is used for the modern facilities such as a baseball stadium and an athletic field.

The Third Enclosure over the Outer Moat

The Second Enclosure is the center of the park with a lot of cherry trees. You can walk along the promenade beside the Outer Moat. In fact, the high earthen walls were built along the moat, but they were removed when a Japanese Army started to use the castle ruins.

The promenade in the Second Enclosure

There is also the Joetsu City History Museum in the enclosure where you can learn more about the castle and the area around.

The Joetsu City History Museum

Main Enclosure and Rebuilt Three-Story Turret

The Main Enclosure surrounded by the Inner Moat and the earthen walls have three entrances for visitors. The first one is the former front gate from the restored wooden bridge called Gokuraku-bashi outside on the south.

The restored Gokuraku-bashi Bridge

The second one is the ruins of the Higashi-akazu-mon Gate on the east.

The ruins of the Higashi-akazu-mon Gate

The last one is on the west and was built by the Japanese Army in the modern times.

The entrance of the Main Enclosure in the west

The Three-story Turret was also rebuilt in 1993 on the earthen walls at the southwest corner of the Main Enclosure, based on the successful excavations and studies. The turret is in fact a steel building, but it looks traditional because of the many wooden materials used.

The rebuilt Three-Story Turret on the earthen walls

Its interior is used as a museum and as a sightseeing tower. You can also see a good contrast of the Inner Moat, the earthen walls and the turret from the outside.

The interior of the Three-Story Turret
A view from the Three-Story Turret

The inside of the enclosure was used as the Main Hall for the lord of the castle, and is now used as a school.

The miniature model of the Main Enclosure of Takada Castle (the Joetsu City History Museum)
The inside of the Main Enclosure in the present

To be continued in “Takada Castle Part3”
Back to “Takada Castle Part1”

40.Yamanaka Castle Part1

The castle for the western defense of the Hojo Clan

Location and History

Western Defense for Hojo Clan

Yamanaka Castle was located on the west of Hakone Barrier, the western gateway of Kanto Region, now in the eastern part of Shizuoka Prefecture. The castle was first built in the middle 16th Century during the Sengoku Period by the Hojo Clan, who owned Kanto Region. The clan aimed to protect their home base, Odawara Castle on the eastern side of Hakone Barrier, by building Yamanaka Castle. This castle was also improved before the ruler, Hideyoshi Toyotomi, attacked the Hojo Clan in 1590.

The location of the castle

Yamanaka Castle was built surrounding the Tokaido Road, one of the major roads in Japan. During that time, if someone walked up the slope on the road from the west, it would require passing through the castle. The road was actually on the Third Enclosures of the castle, and beside the Main Enclosure. The Third Enclosure also had water moats on the west to prevent enemies’ attacks and was for the water reservoir.
On the south of the Third Enclosure, a long defense strongpoint called “Taizaki-demaru” spread with the road parallelly. On the west of the Third Enclosure, the Second Enclosure, the West Enclosure, and the West Turret were added towards that direction. These enclosures were able to work closely to prevent attacks from enemy forces.

The location map of the ruins of Yamanaka Castle (from the signboard at the site)

Hojo’s Unique Methods for building Castle

The techniques used in the castle were unique to the Hojo Clan. All the enclosures were made of earthworks, using natural terrain such as ridges and valleys. They were mainly connected by wooden bridges which could fall down when a battle happened. They were also divided by deep dry moats whose bottoms were left parallel or as latticed ridges. The method for building the moats is called “Une-bori” for the parallel ridges and “Shoji-bori” for the latticed ridges. These dry moat building methods are considered features of the Hojo’s castles. Once soldiers fell into the moat, they couldn’t move from there at all. The area of the castle reached about 200,000 square meters. Hojo thought the castle could make Hideyoshi stuck for a while.

“Une-bori” for the parallel ridges
“Shoji-bori” for the latticed ridges

Fall in Battle of Yamanaka Castle

However, the castle was captured by Hideyoshi in just half a day. In the early morning, March 29, 1590, nearly 70,000 soldiers of Hideyoshi’s troop started to attack the castle, while the number of the defenders was only about 4,000. The attackers first charged both the West Turret and the Taizaki-Demaru defense strongpoint, but they suffered a significant number of casualties by the counterattack of Hojo’s guns. If it was a local battle, the attacker might have paused the charge to prevent more damages. However, the commanders forcibly continued to charge, otherwise, they might have been fired by the ruler. That resulted in the success of capturing the castle for Hideyoshi in exchange for a lot of dead soldiers including one of the Hideyoshi’s commander, Naosue Hitotsuyanagi.

The Portrait of Hideyoshi Toyotomi, attributed to Mitsunobu Kano, ownd by Kodaiji Temple (licensed under Public Domain via Wikimedia Commons)

This battle lasted for a few hours. It is said that another reason for the short battle was that Hojo’s soldiers were confused because their head, Ujikatsu Hojo, escaped from the castle. Others point out that the Taizaki-Demaru defense strongpoint was unfinished in construction before Hideyoshi’s attack. Anyway, even such a strong castle couldn’t survive without enough soldiers and the right instructions.

The signpost of the castle ruins

To be continued in “Yamanaka Castle Part2”